
Last updated September 20, 2026
Level 1 sweep and inspection to the NFPA 211 annual standard - flue, crown, cap, and flashing checked and photographed
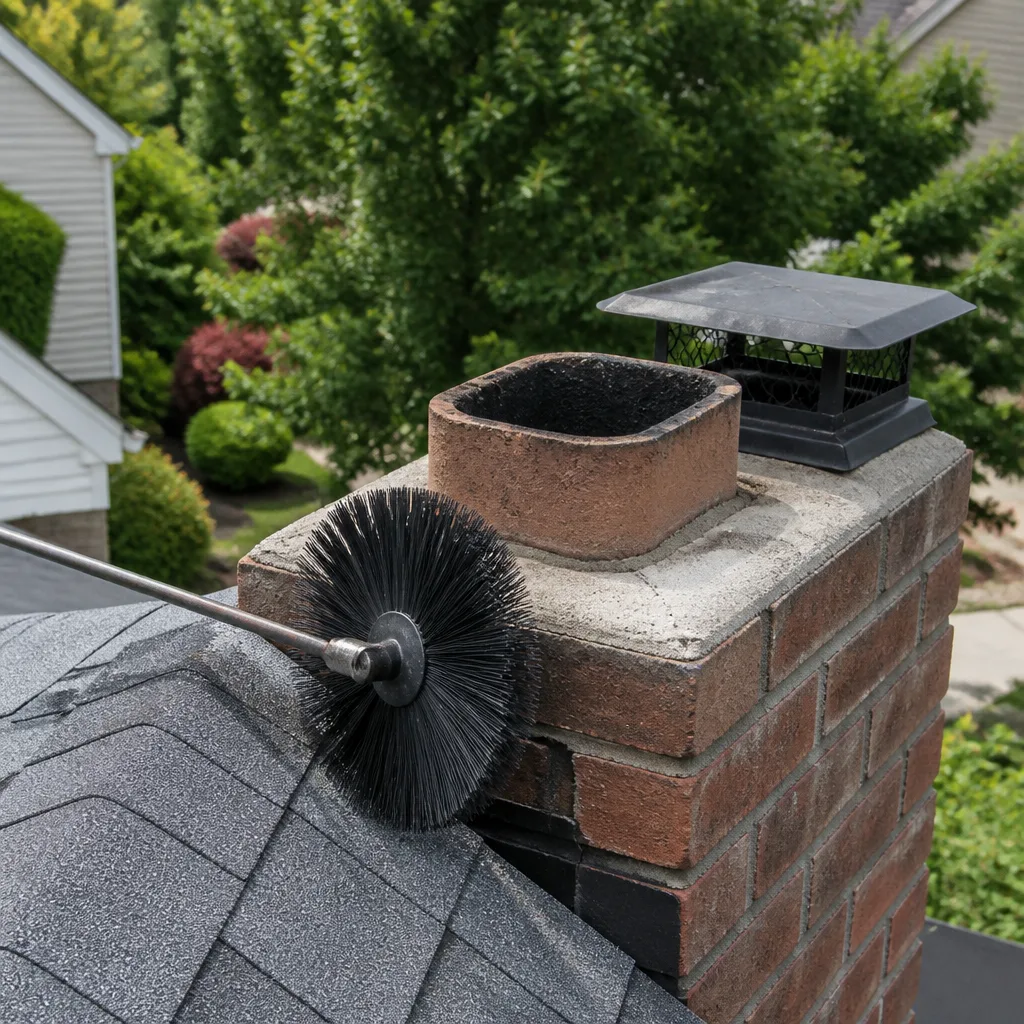
Chimney sweep logs do not sweep chimneys. They loosen some creosote - which then falls where a brush and vacuum still have to collect it.
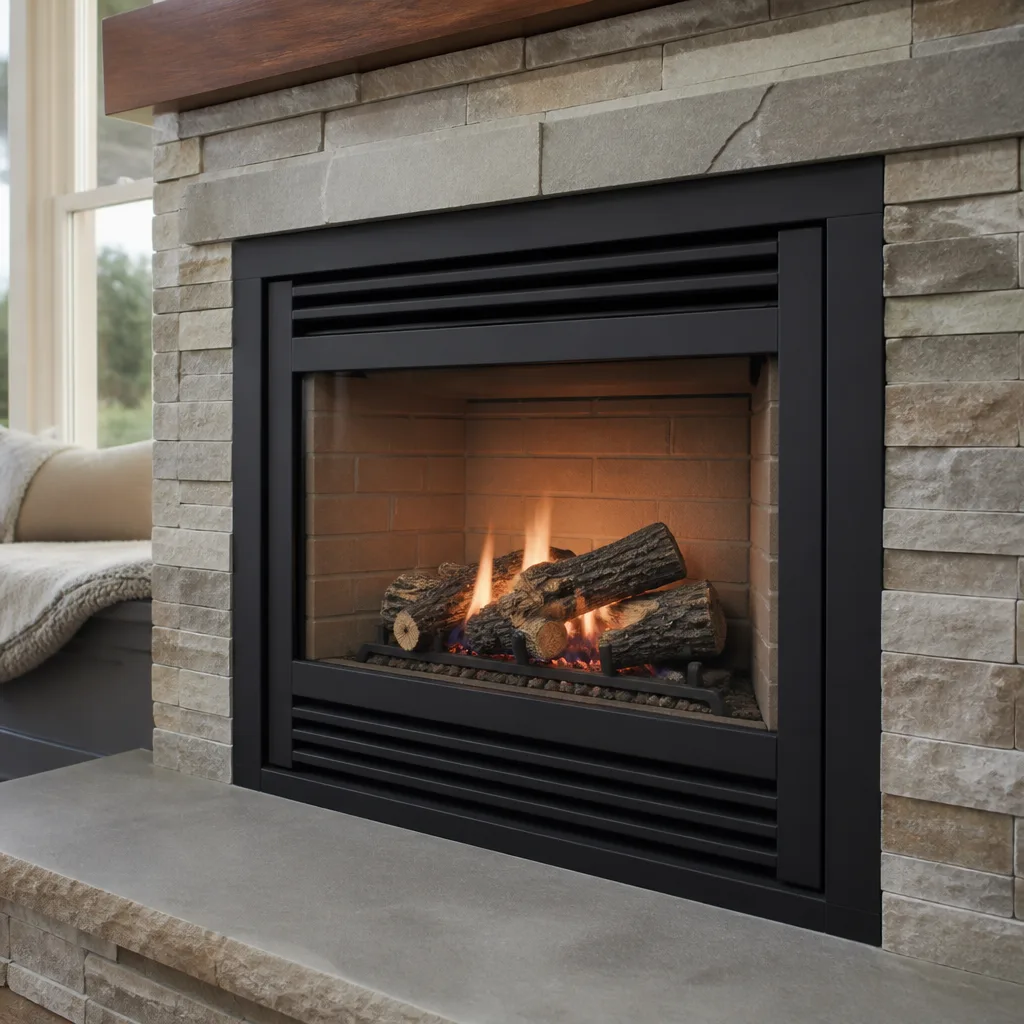
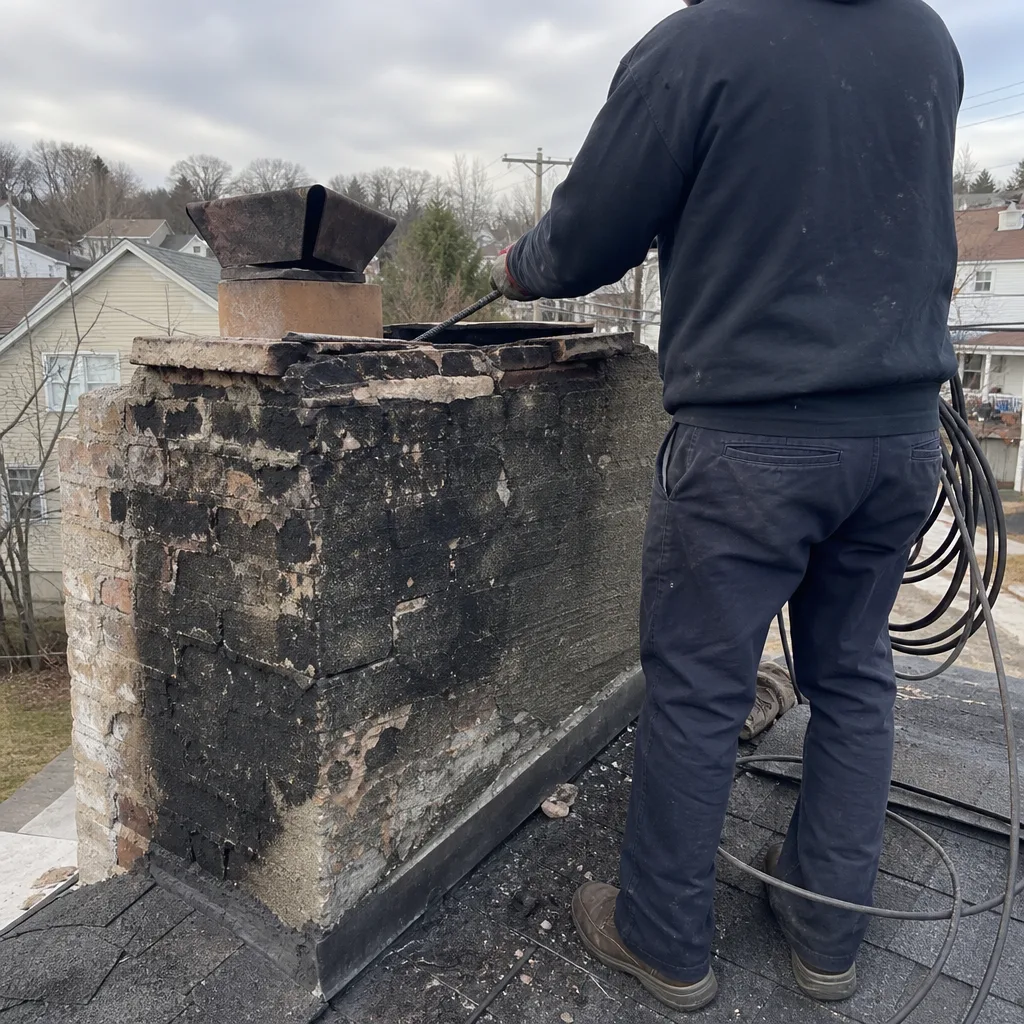 Before
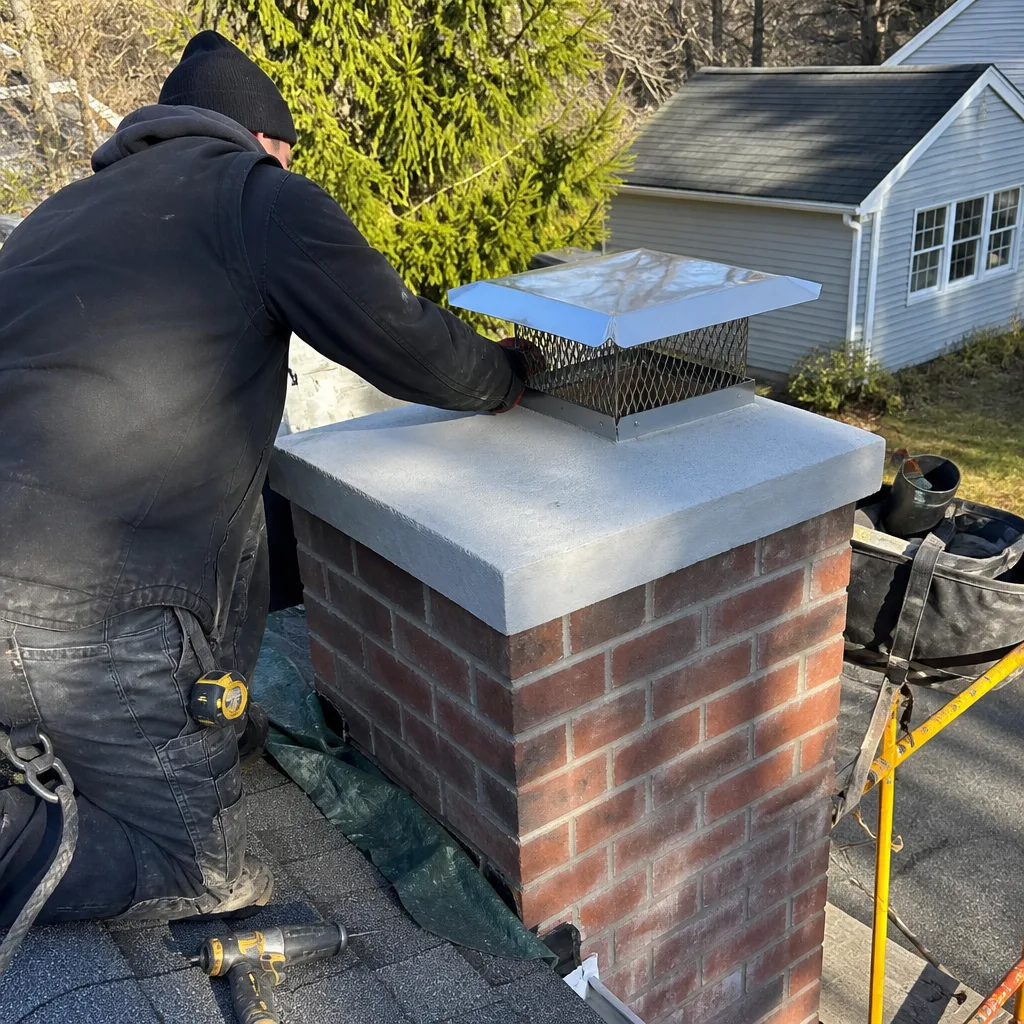 After
After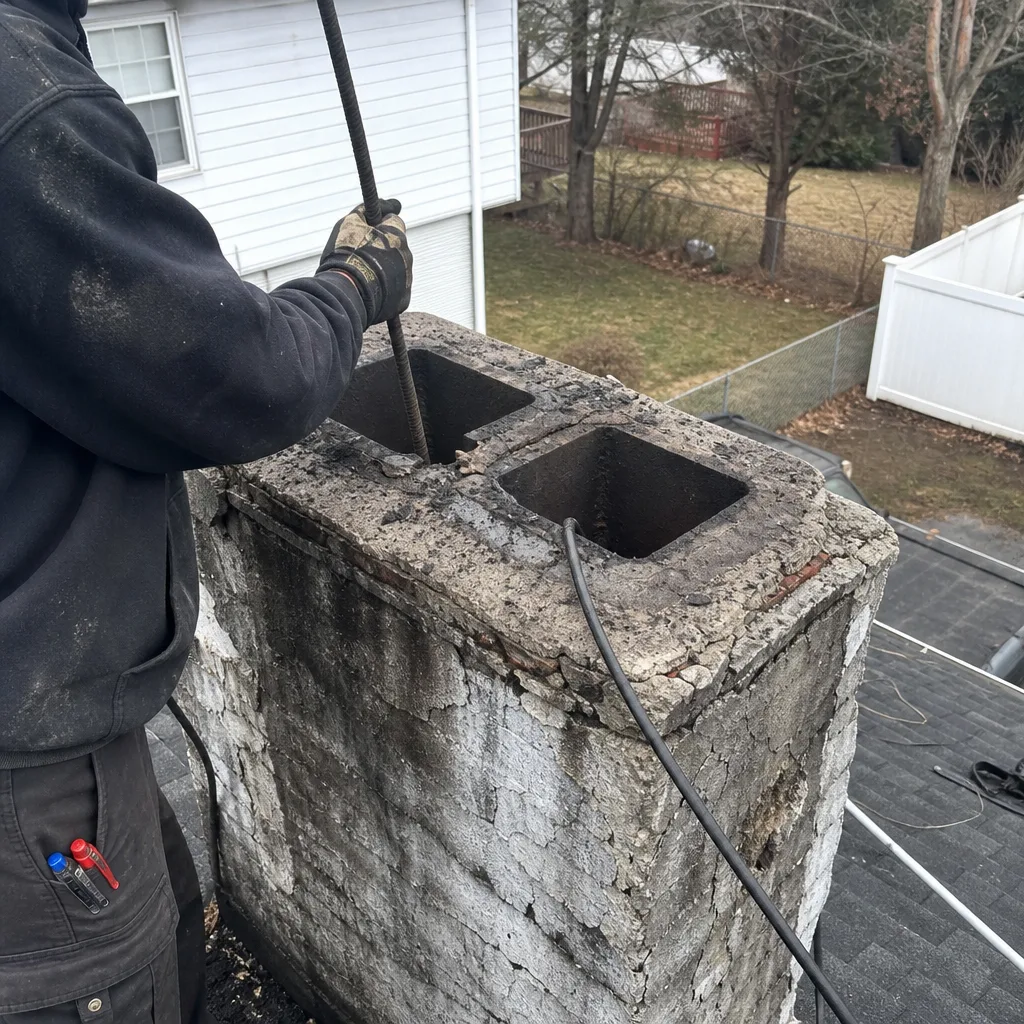 Before
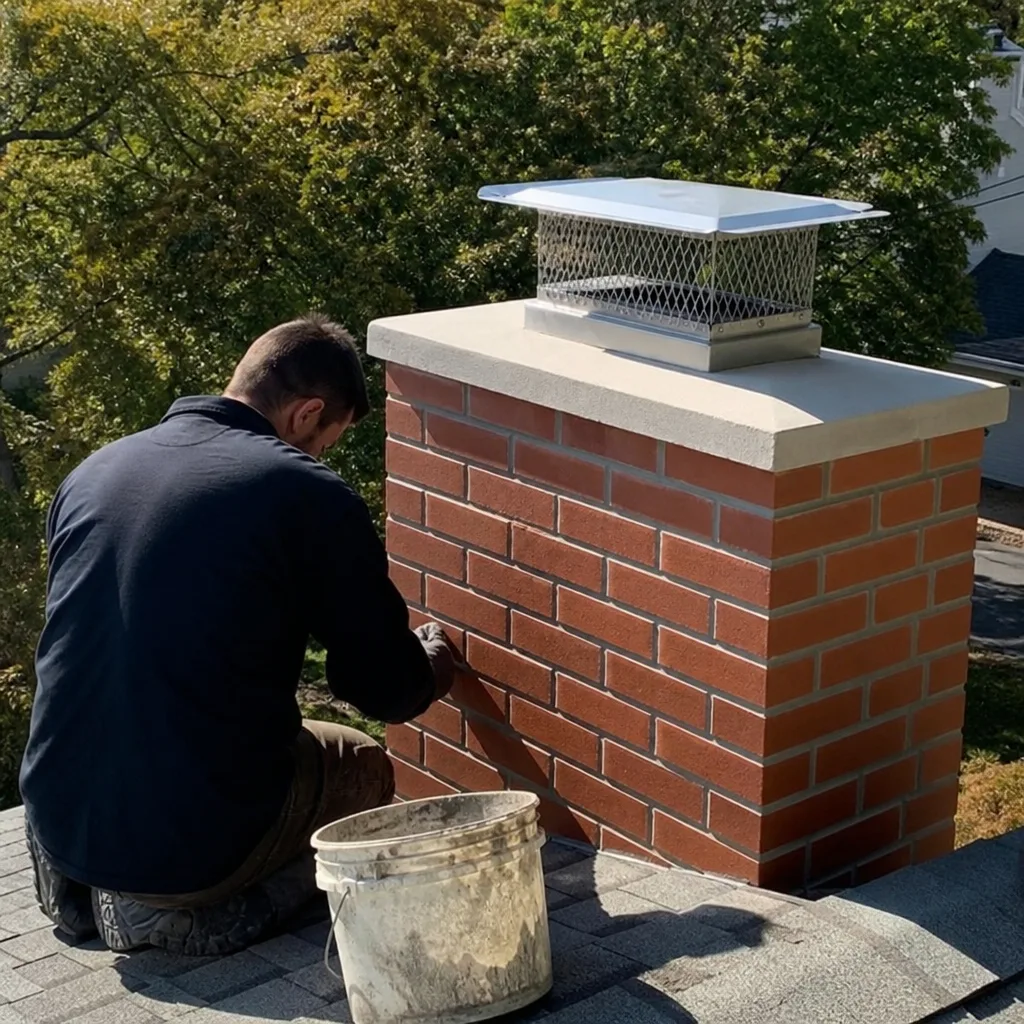 After
After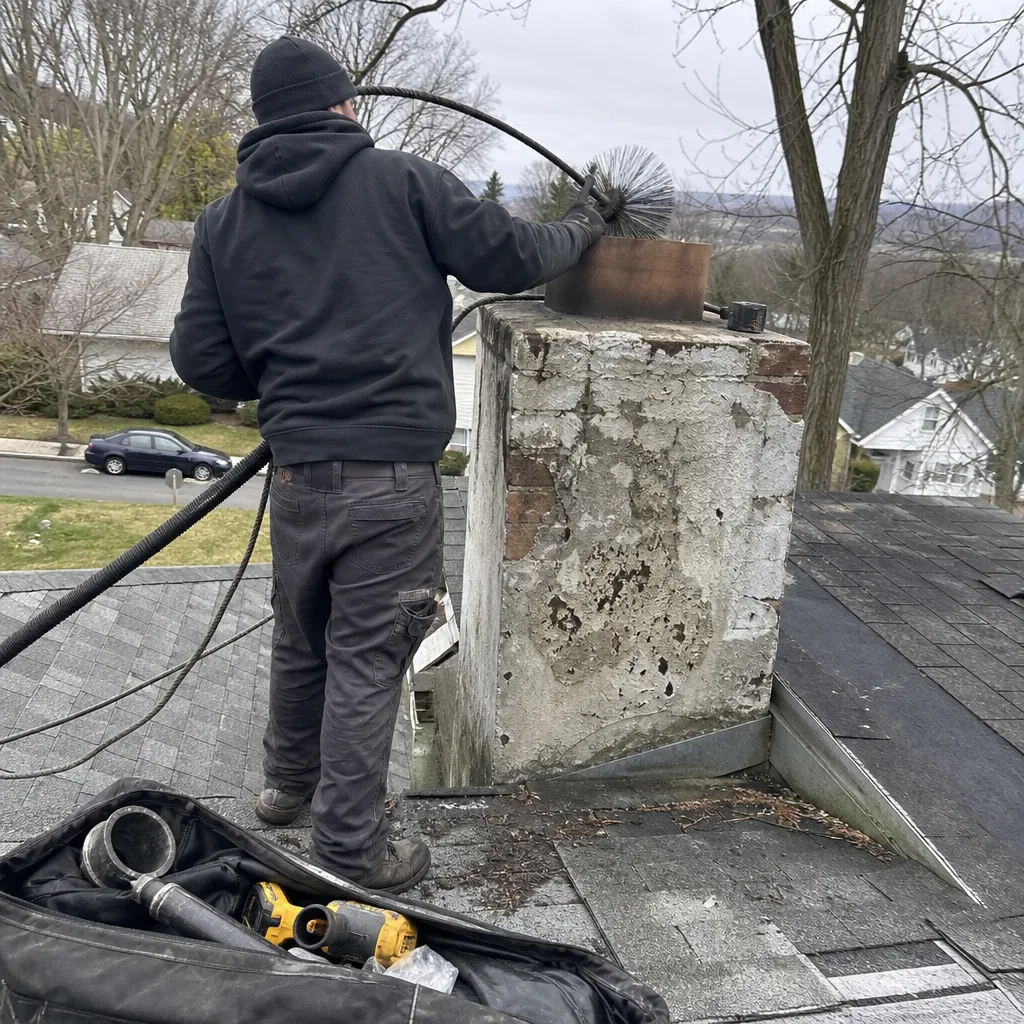 Before
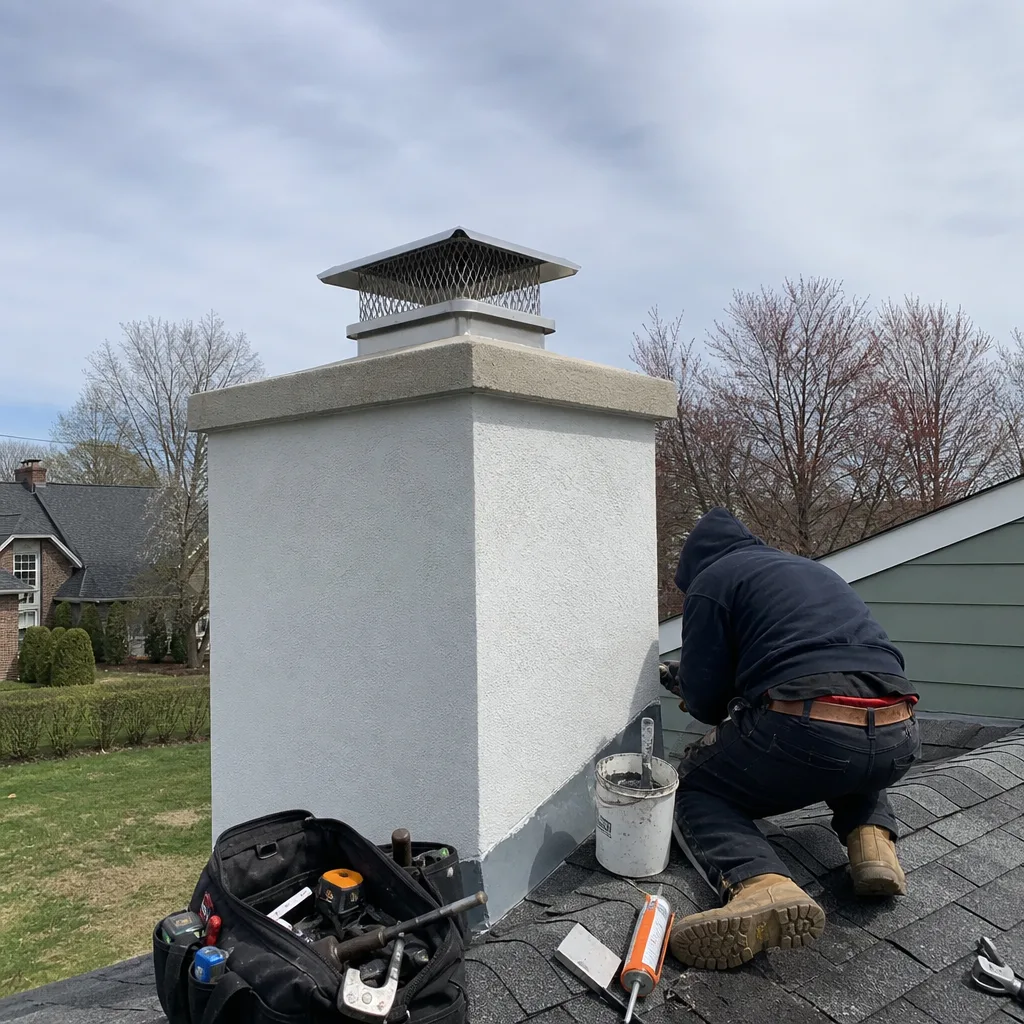 After
AfterChimney Cleaning & Sweep Maintenance Checklist for Yonkers Homeowners
Here’s a number that surprises most Yonkers homeowners: a chimney that swept clean last March can carry a quarter-inch of glazed creosote by Thanksgiving. It’s not neglect. It’s thermal shock, freeze-thaw spalling, and the way older Yonkers housing stock breathes, or stops breathing, after energy retrofits. This guide, alongside our more guides & resources, is built for the homeowner who wants to know what to look at, when to look, and what actually matters between professional visits. You’ll learn how to read your own firebox, how to photograph what you find, and how to maintain a record that holds up if you ever file an insurance claim. We’ll start with the answer, then walk the full Yonkers calendar, month by month.
Quick Answer
A Yonkers homeowner should schedule Chimney Cleaning & Sweep at least once per burning season, more often if you burn weekly or notice dark, tarry buildup on the damper, and perform a 10-minute visual check of the firebox, cap, and crown every month from October through April. Between professional visits, you’re not cleaning, you’re observing: smoke shelf debris, white staining on the firebox wall, damper wobble, sluggish draft, and an acrid smell on humid days are each early warnings of a problem that costs hundreds to fix now and thousands if ignored. Document everything with your phone camera, because the most useful maintenance record is a before-state photo your sweep can compare against.
Table of Contents
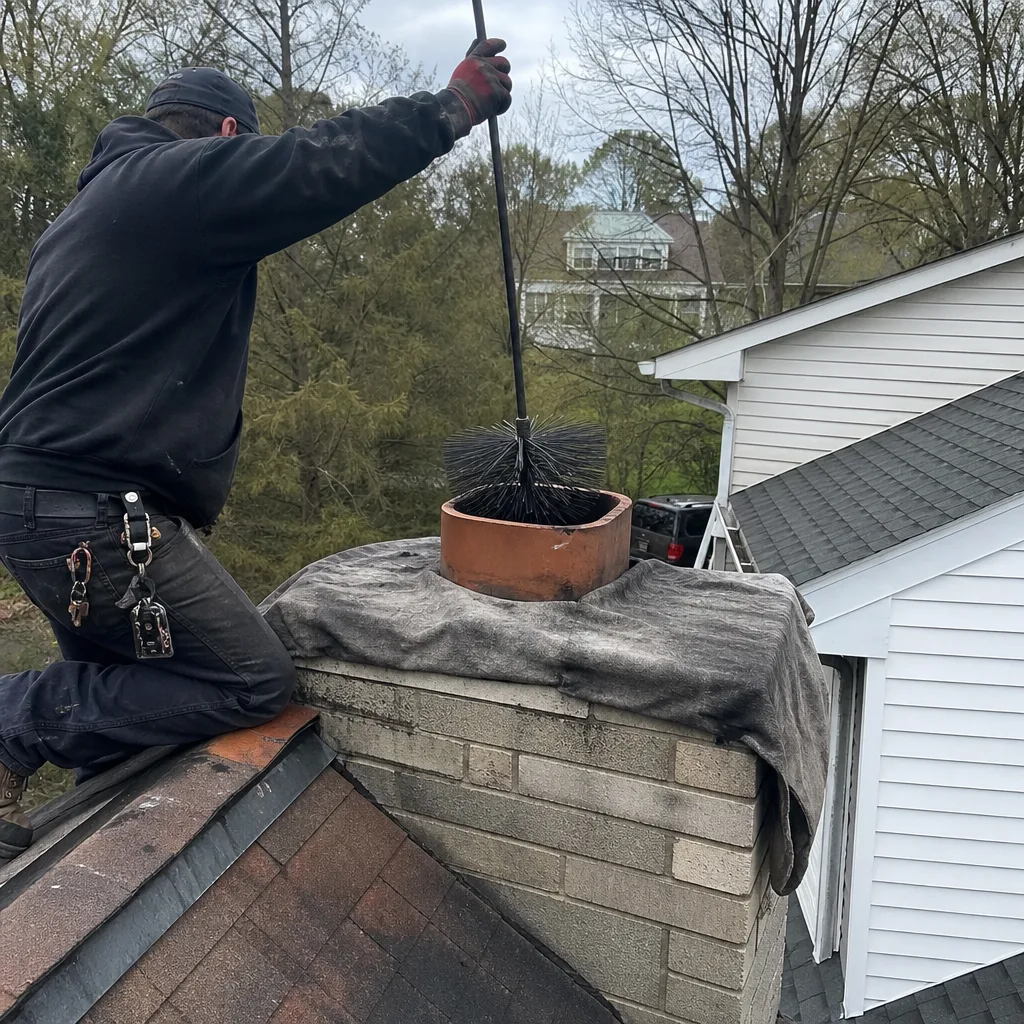
- The Yonkers Calendar: What to Check Each Month
- The Five Firebox Signals You Can Read Without Tools
- The Creosote Stage System: A Homeowner’s Recognition Guide
- How to Document Your Observations with a Phone Camera
- The Insurance Trio: Cap, Liner, and Clearance
- When a Cap Fails: Yonkers Urban Particulate and Animal Pressure
- Freeze-Thaw and the Mortar Crown: The Yonkers Spring Problem
- Common Mistakes to Avoid
- When to Call a Professional
- Frequently Asked Questions
- The Bottom Line
BeforeAfterThe Yonkers Calendar: What to Check Each Month
Yonkers weather punishes masonry in a specific rhythm. The Hudson River keeps humidity high through summer, then January drops the temperature hard enough to freeze any water that found its way into hairline cracks. That cycle, repeated across fifteen winters, is what turns a sound crown into spalled rubble. Your maintenance calendar should follow the climate, not the calendar year.
October: Before the first fire. Open the damper fully and shine a bright flashlight up the flue. You’re looking at three things: the damper plate itself (does it open smoothly, or does it grind and resist?), the smoke shelf directly above it (any dark accumulation or fallen debris?), and the first several feet of flue liner (flaky soot is normal; shiny, black, glassy buildup is not). If you see the latter, book a sweep before lighting anything. A working carbon monoxide detector is mandatory before the first fire of the season, not an afterthought. Test it, replace batteries, and know that a tight Yonkers rowhouse holds combustion gases much longer than a drafty prewar detached home ever did.
November: First-fire observation. When you light the first fire, stand at the hearth for five minutes. The smoke should draw up immediately, with no hesitation and no back-puffing into the room. If it reverses, opens a window an inch; if that fixes it, the house is too tight for the flue. In Yonkers neighborhoods like Park Hill and Bryn Mawr, where homeowners have aggressively weatherstripped and added attic insulation, we’ve seen creosote deposit rates triple inside a single season because the same fire now burns in a flue starved of makeup air. The chimney never got worse. The house got better. The fire didn’t adapt.
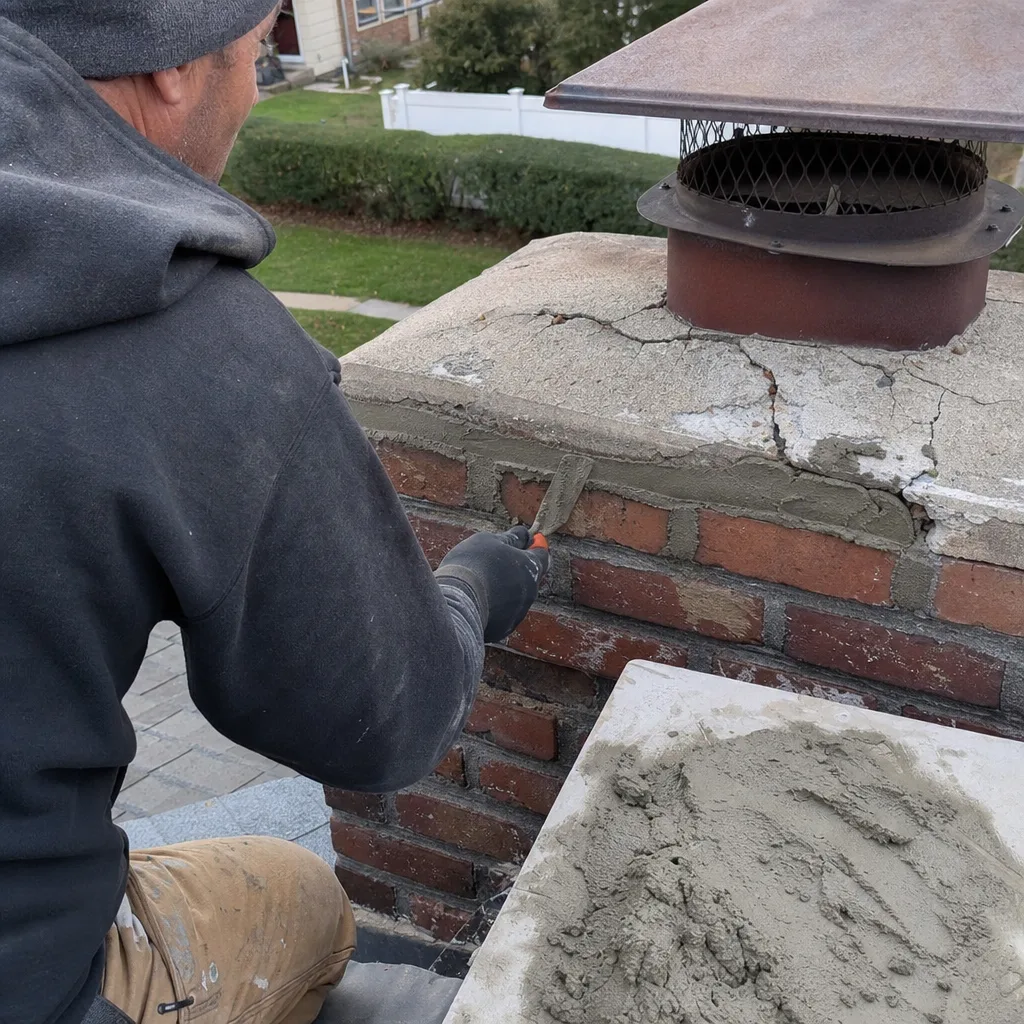
December through February: Monthly visual check. Once a month, use a flashlight to inspect the firebox walls and the damper. What you’re watching for: white, chalky staining (efflorescence) on the firebox brick, which means water is migrating through the masonry from outside; dark streaks that weren’t there before; and any change in how the fire sounds. A fire that hisses or pops more than usual is burning green or wet wood, and that accelerates creosote production. In January and February, after hard freezes, check the exterior: look up at the chimney crown with binoculars. New cracks, missing mortar, or a cap that’s shifted are red flags.
March: After the last freeze cycle. This is the inspection you should not skip, but most Yonkers homeowners do. Walk outside and inspect the crown, cap, and upper brickwork now, before April rain finds its way into whatever cracks February opened. Pay attention to the mortar joints in the top five courses of brick. If the mortar is visibly receding, crumbling, or missing in places, water is already inside the chimney, and the freeze cycles you just lived through will happen again next year, worse, wherever water sits now. This is also when you should check the firebox for efflorescence left behind by winter, because what remains after the last freeze tells you the ingress point is still active.
April through July: Dormant season, but not passive. The chimney does not rest. Warm, humid air rises through an open damper and condenses inside the flue, carrying creosote odor down into the living room. Close the damper firmly when the burning season ends (but don’t seal the chimney entirely; it needs modest airflow). If you smell creosote indoors on a humid day, the flue needs cleaning, plain and simple. The odor is not seasonal character. It’s real deposit off-gassing.
August: The crown in extreme heat. August heat expands brick and mortar, then evening cool contracts it. On a 90-degree Yonkers afternoon, check the crown at high noon; subtle hairline cracks extend visibly in the heat and re-close at night. Note what you see, photograph it, and compare it in March. A crack that grows over one winter is meaningful. A crack that stays hairline and unchanged is usually cosmetic but worth noting on your record.
The Five Firebox Signals You Can Read Without Tools
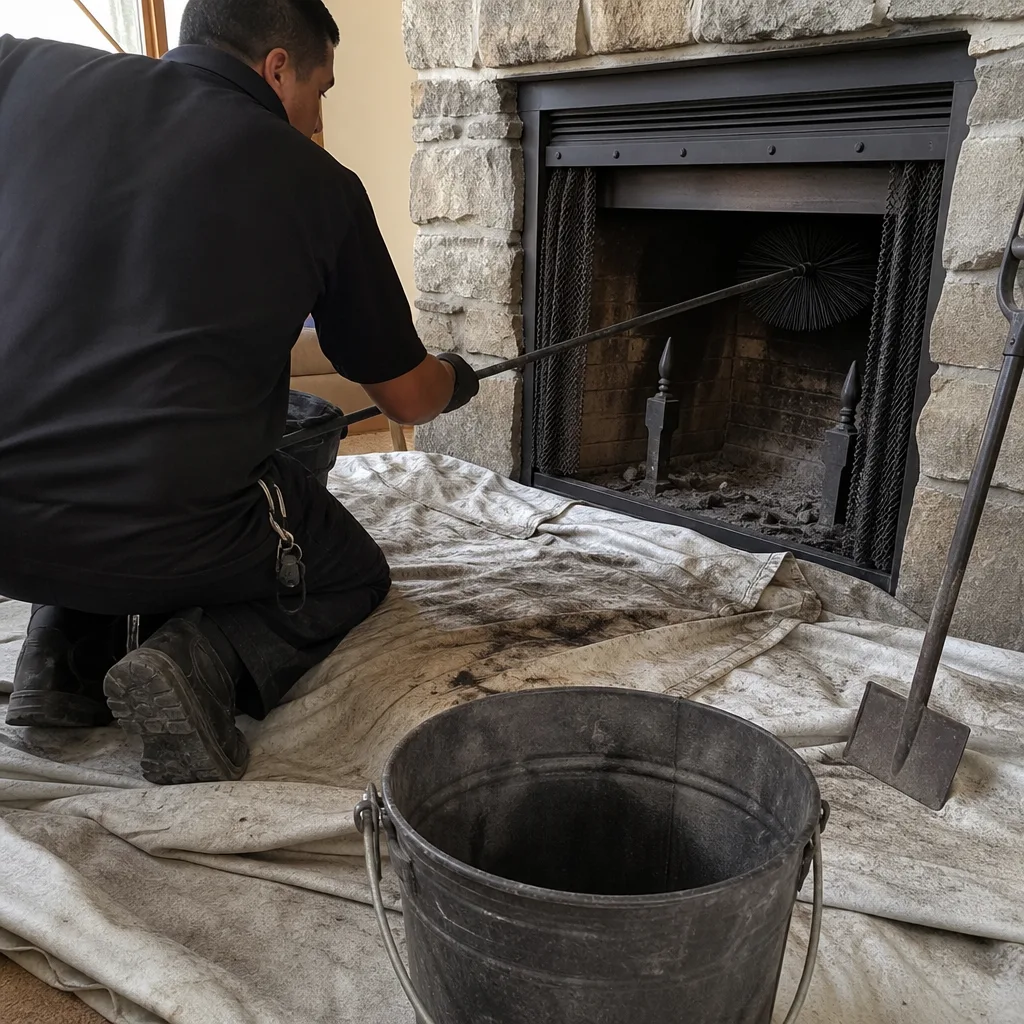
You don’t need a thermal camera or a masonry degree to read your firebox. You need a flashlight, your nose, and about four minutes of attention. Here are five signals that tell a trained sweep more about a chimney’s condition than most homeowners realize, and what each one means.
1. Smoke shelf debris. Reach into the firebox (cold, obviously) and feel the smoke shelf, the flat ledge directly above the damper. If it’s gritty with loose black flakes, that’s Stage 1 creosote shedding. Normal, cleanable, no emergency. If it’s sticky or the debris clumps when pinched, that’s Stage 2, and it’s past the point of a simple brushing. If it feels like hardened glass, you have Stage 3 and a real fire risk.
2. Damper wobble. An open damper that wobbles side to side on its hinges, or one that won’t hold itself fully open, is not just annoying. It means the damper assembly is loosening from the throat, which changes the air-to-fuel ratio in the firebox. A damper that drifts closed during a fire can send smoke and carbon monoxide spilling into the room. If the wobble is new since last season, schedule repair before the next fire.
3. Efflorescence staining. That white, chalky film on firebox brick is not ash. It’s salts leached out of the masonry by water migrating through the chimney wall. In Yonkers, where winter freeze-thaw cycles saturate brick repeatedly, efflorescence is almost always an exterior water-ingress problem, not an interior moisture problem. A sweep will trace it to a failed crown, a cracked cap, or deteriorating mortar joints. Wipe the stain with a dry cloth and photograph the clean area, then photograph it again in a month. If the staining returns, water is actively moving.
4. Draft hesitation. Light a single match at the firebox opening with the damper open. The flame should bend gently, steadily, up the chimney. If it flickers erratically or pushes back into the room, then reverses, the flue is struggling. Sometimes that’s a cold-flue start and warms into a steady draw within minutes. If it persists, it’s an obstruction, a too-tight house, or an undersized flue, and a professional should diagnose which. This test is not a substitute for a camera-scan inspection, but it’s a useful monthly habit.
5. Odor profile. A clean, dry chimney barely smells. A wet fireplace smells like wet ash and old smoke, mildly sour. A chimney with significant creosote smells acrid and sharp, like tar baking, and it often intensifies on humid summer days. Trust the smell. Nose-warning systems are primitive but reliable.
We’ve had Yonkers homeowners in Crestwood describe every one of these signals over the phone, and the camera-scan inspection almost always confirmed what they felt. A homeowner who can read the firebox is not doing our job; they’re giving us a head start.
The Creosote Stage System: A Homeowner’s Recognition Guide
Creosote is not one substance. It’s a family of combustion byproducts that condenses on flue walls as wood smoke cools. How much, and what kind, tells you how pressing the cleaning is. The National Fire Protection Association uses a three-stage classification, and it’s worth knowing because the difference between Stage 1 and Stage 3 is the difference between a routine sweep and a fire hazard.
Stage 1: Flaky and dusty. Loose, dark flakes that brush away with a finger. Composed mostly of condensed soot and unburned wood particles. This builds up even in well-burning fireplaces, especially when the flue runs cold or the wood isn’t perfectly seasoned. A proper sweep seasonally or annually handles it. This is the stage you want to see on your yearly check, and it’s what 70 to 80 percent of Yonkers chimneys show if they’re cleaned regularly and burned correctly.
Stage 2: Tarry and sticky. Dense, tar-like residue that clings to the liner and requires mechanical scraping to remove. This forms faster when burn temperatures are low, when the flue is starved of air, or when wet or soft wood is burned. Yonkers homes that were tightened with new insulation and window seals, without any makeup-air solution, push Stage 1 into Stage 2 in a single season. Once you’re at Stage 2, a simple brush sweep is no longer enough; you’re moving into chemical treatment or more aggressive mechanical removal.
Stage 3: Glazed and glass-hard. A shiny, black, baked-on coating that resembles ceramic. It is extremely difficult to remove mechanically and burns at high temperatures, which makes it the stage where Chimney Cleaning & Sweep in Yonkers becomes urgent, not recommended. Stage 3 creosote can ignite inside the flue and sustain a chimney fire. You don’t need to touch it to know it’s there; a flashlight from below will show a glint that looks wet but doesn’t move. If you see glazing, do not burn another fire until it’s addressed.
Here’s the honest takeaway most guides won’t give you: the stage system matters less than the trend. A Stage 1 flue that builds up in six weeks tells you something about how you burn, how the house breathes, or how the flue is sized. That matters. A Stage 2 flue caught early is a manageable problem. Stage 3 is the only one that should genuinely alarm you, and it’s avoidable with ordinary attention.
How to Document Your Observations with a Phone Camera
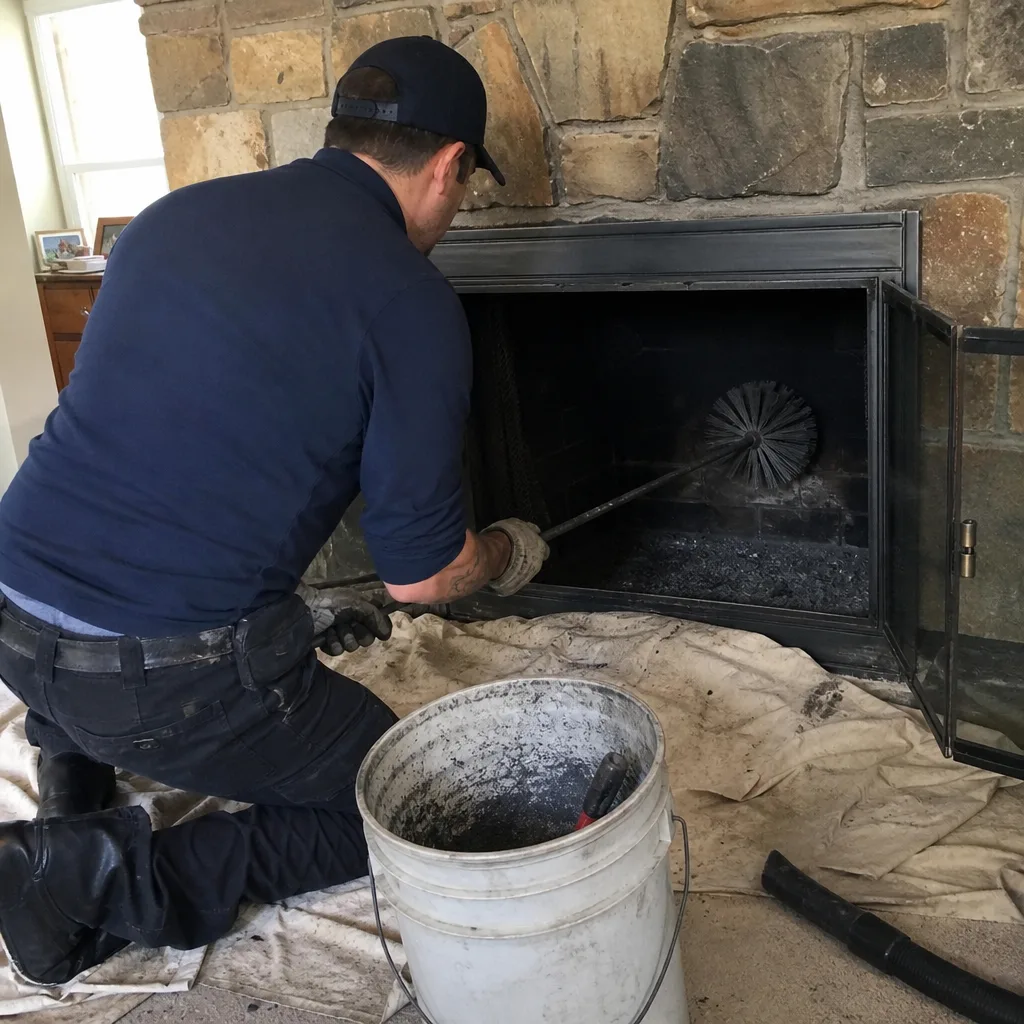
Your phone camera is the most underused chimney maintenance tool you own. A sweep who arrives to find a year of dated firebox photos can diagnose changes with a speed and accuracy that no single visit can match. And if you ever deal with an insurance claim or a dispute about when damage happened, a dated photographic record is worth more than any verbal recollection.
Here’s the method we recommend, and it’s the same logic behind why Level Two Chimney Yonkers home has made camera-scan documentation standard on every visit since 2009: records beat memory.
- Use the same angle every time. Stand the same distance from the firebox, aim the camera the same way, and let the flash do the same work. Consistency is what lets you compare month against month.
- Photograph the damper in two positions. Fully closed, to observe soot and creosote buildup on the plate; fully open, to reveal the smoke shelf and flue throat behind it.
- Shoot the firebox walls, floor, and back wall separately. Don’t try to capture the whole box in one frame. The camera lens lies; individual close-ups tell the truth about staining, cracking, or shifting brick.
- Capture the exterior without a ladder. From the ground across the street or from a neighbor’s yard with permission, use your phone’s zoom to photograph the crown and cap. In March especially, this catches mortar loss and cap damage you cannot see from inside.
- Name the files with dates. Do this even if you do nothing else. A folder of untitled IMG_4123.jpg files is not a record.
- Email the latest set to yourself before each professional visit. This timestamps the images in a way that’s difficult to dispute later, whether for an insurance claim or for your own peace of mind about a repair quote you’re comparing.
When you schedule a sweep, tell them you have a photo record. A good sweep will use it; a great sweep will ask for it. The before-state is half the inspection.
The Insurance Trio: Cap, Liner, and Clearance
Most chimney maintenance advice ignores the insurance question entirely, which is strange, because three specific checklist items directly affect whether a claim gets paid after a chimney fire or water-damage event. Yonkers homeowners should keep a written note on each of these, updated annually, and stored with the home’s insurance documents.
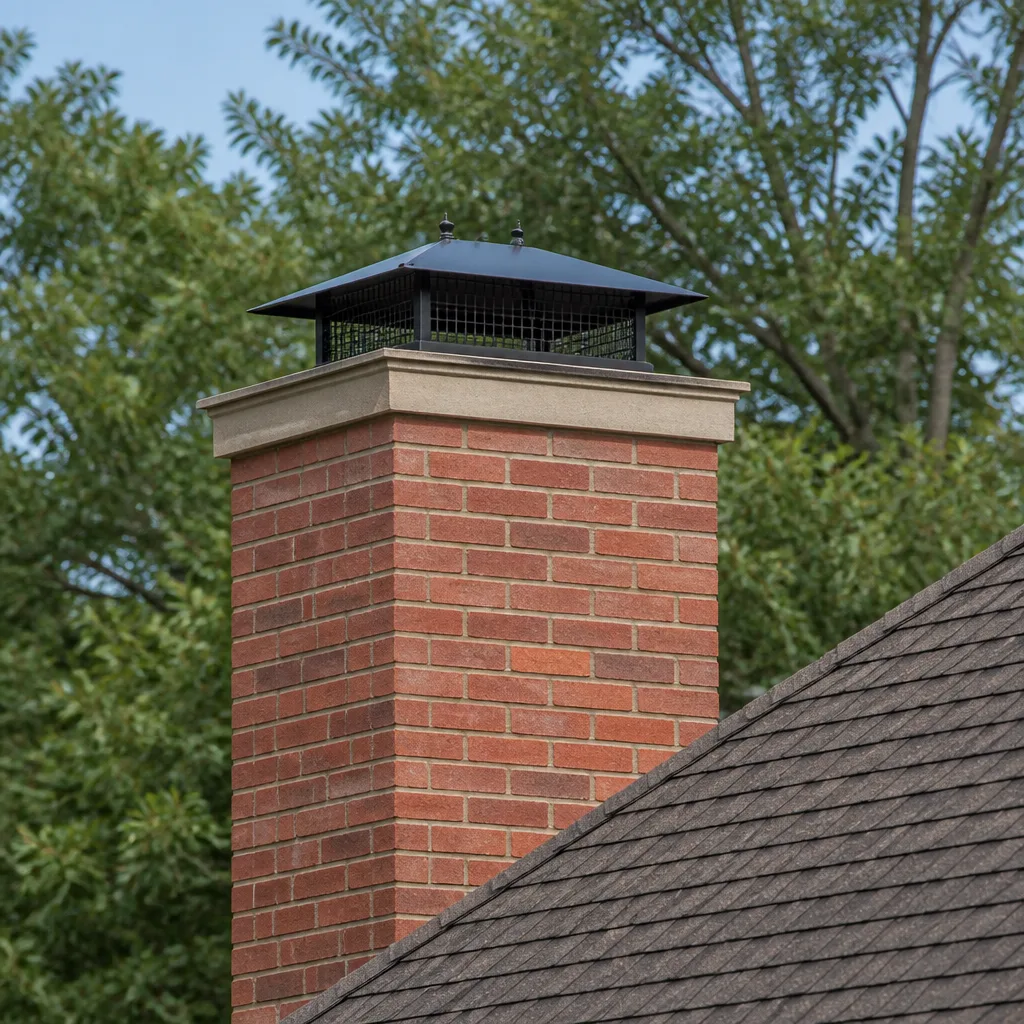
1. Cap integrity. A missing or badly rusted chimney cap is not just an animal or rain problem; it’s a liability. Insurers increasingly ask whether a cap was present and intact at the time of an incident. Photograph the cap annually from the outside. If it’s gone or failing, replace it; it’s the cheapest part of the chimney and one of the most often disputed.
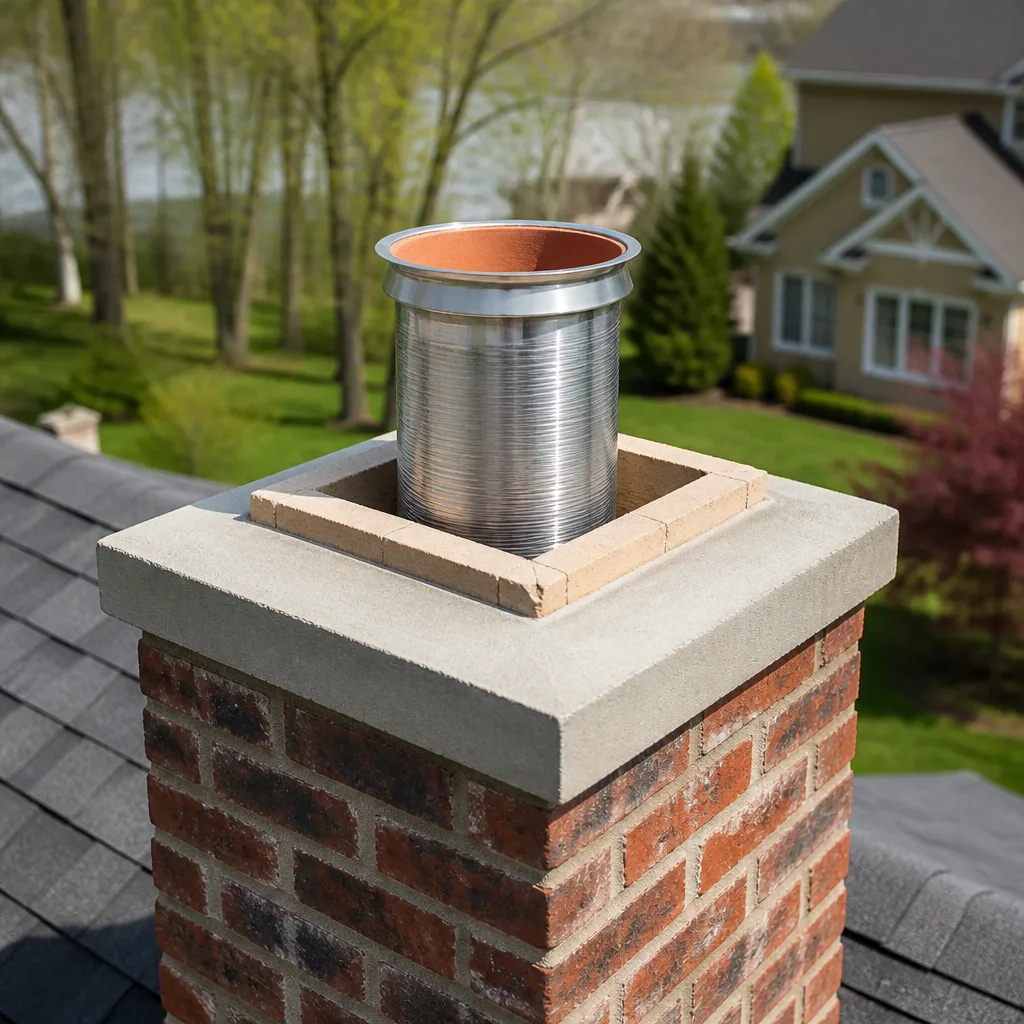
2. Liner continuity notation. If you’ve had a camera-scan inspection, the resulting report includes language about the liner’s condition: intact, cracked, spalled, detached, or deteriorating. That notation is evidence. A liner known to be intact in March, and documented as such, puts the homeowner in a much stronger position if something happens in December. Conversely, a homeowner who never looked inside the flue cannot say when the crack formed, and that ambiguity is expensive.
3. Clearance-to-combustibles confirmation. Combustible framing members too close to the chimney is not just a fire risk; it’s a coverage denial waiting to happen. Even if the chimney is masonry, the house is wood. A professional inspection that measures and confirms proper clearance, or flags improper clearance in writing, is the kind of due-diligence documentation insurers respond to.
None of this is scare-sell. It’s the reality of how claims adjusters think: they want to know the chimney was maintained. A folder with one annual photo set and one professional inspection note per year is, in practice, all the evidence most homeowners ever need. For Chimney Repair in Yonkers, the same documentation tells the repair tech exactly what changed and when.
When a Cap Fails: Yonkers Urban Particulate and Animal Pressure
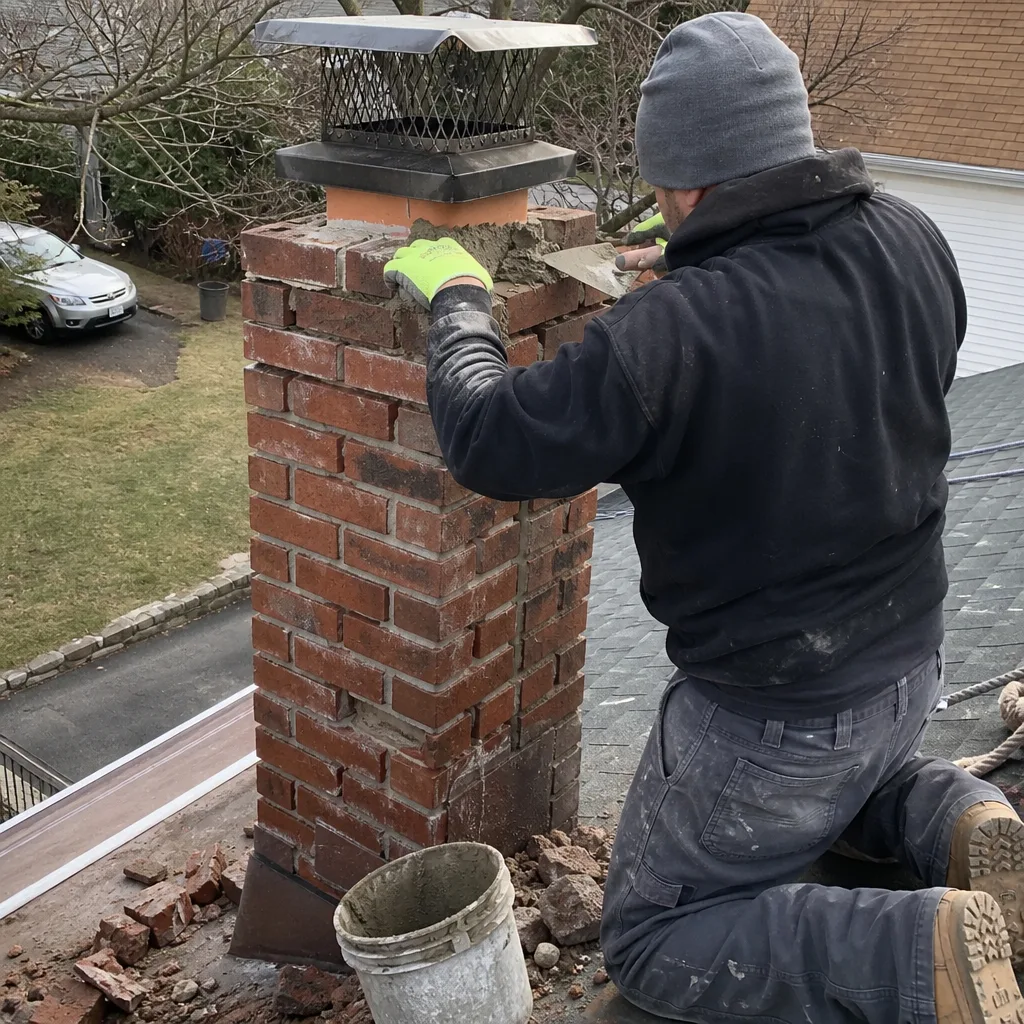
Yonkers sits in a dense urban corridor between the Hudson River and the Saw Mill River Parkway, and the air carries a steady load of fine particulate matter from vehicles, industry, and the surrounding region. A chimney cap in Nodine Hill or Ludlow accumulates a black, greasy film that a cap in rural Putnam County never sees. That film is not purely cosmetic; it clogs the cap’s mesh, reduces draft, and in heavy rain, washes down the flue as a sooty slurry that adheres to creosote and accelerates corrosion.
Check the cap twice a year, in March and August, with binoculars from the ground. Look for:
- Mesh that appears black or blurred from a distance, suggesting particulate buildup
- Visible rust streaks on the cap body or attachment points
- Birds entering or nesting material protruding from the cap
- Any cap that appears tilted, lifted, or separated from the flue tile
Cap replacement is not a high-ticket item. It’s the single most cost-effective defense against the two things that destroy Yonkers chimneys faster than any others: water and animals. Squirrels and raccoons are relentless in Yonkers, and once an animal falls through a damaged cap and dies in the smoke chamber, the odor forces a removal and cleaning that costs far more than a cap ever would have.
When a cap fails, the whole system downstream suffers. It’s the roof of the chimney, and you don’t leave a house without a roof for a year because the framing looked fine. Same logic.
Freeze-Thaw and the Mortar Crown: The Yonkers Spring Problem
If there’s one seasonal failure pattern we see in Yonkers more than any other, it’s the crown that held up for twenty years and then collapsed in one March thaw. Crowns don’t fail in a day. They fail across a decade of water entering hairline cracks, freezing, and levering the crack wider by fractions of a millimeter each winter. The Hudson Valley’s freeze-thaw cycling is among the harshest in New York State, and Yonkers masonry takes it head-on.
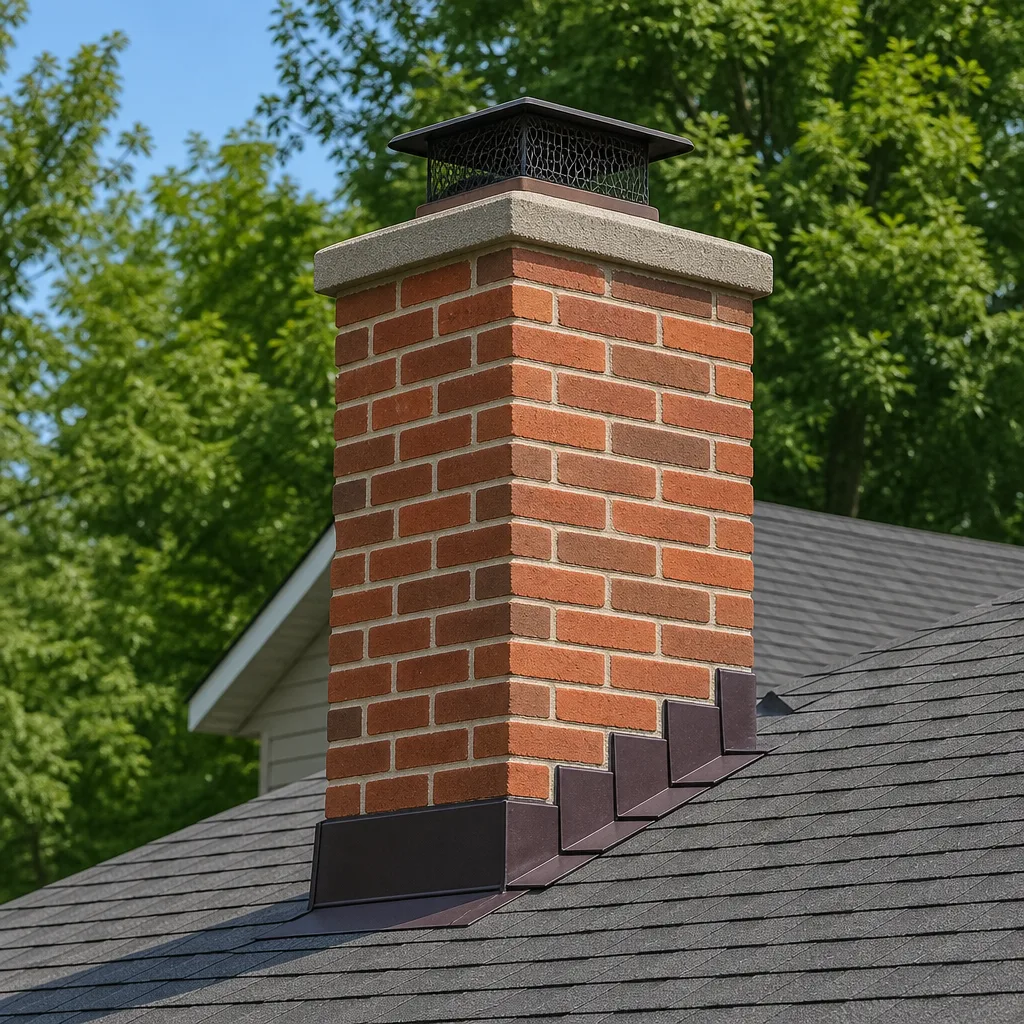
The crown is the masonry slab that caps the top of the chimney, the flat surface that directs water away from the flue tile. Most older Yonkers chimneys were poured with basic mortar, which is porous and shrink-cracks within a few years. Modern replacements, when done well, use a proper overhanging concrete pour or a cast-in-place crown with compatible materials like those sourced through our network, including Gelco and Olympia Chimney products, chosen specifically for freeze-thaw performance.
What to check each March:
- The crown surface: any new hairline cracks, crumbling edges, or sections that have spalled off entirely
- The crown overhang: it should extend at least two inches beyond the brick face, so water drips to the ground, not down the chimney wall
- The top three to five courses of brick: efflorescence, flaking brick faces, and recessed mortar joints all mean water is already inside the masonry
A crown that catches water early is repairable. A crown that goes unchecked for three winters becomes a rebuild. The calendar is the whole difference. This is the one check we ask every Yonkers homeowner to do without fail, because the damage curve is not linear. It looks fine, then it’s not.
Common Mistakes to Avoid
- Burning unseasoned wood because it was cheap. Seasoned wood means split, stacked, and dried for at least six to twelve months. Unseasoned wood produces steam and heavy creosote. It’s the most common self-inflicted problem in Yonkers fireplaces, and it’s entirely avoidable.
- Boosting energy efficiency without solving makeup air. New windows, weatherstripping, and attic insulation can choke the flue. If you’ve done energy retrofits in the last two years and noticed higher creosote, smell, or smoke back-puffing, that’s the cause.
- Skipping the March exterior check. The post-freeze-cycle inspection of the crown and upper brickwork is the single most skipped maintenance item in Yonkers, and it’s the one that costs the most to defer.
- Hiring anyone who won’t show you the camera scan. A flashlight inspection from below is not a Level 2 inspection. If the sweep can’t show you the inside of your flue on a screen, they haven’t truly inspected it.
- Not writing down the liner condition after an inspection. If the liner was noted as cracked in this year’s report and you ignore it for two more burning seasons, you’re on the wrong side of your own maintenance history.
- Deferring a cap replacement until spring. A damaged cap in November means animals and water all winter. Replace it when you find it.
- Using the fireplace as the primary heat source all winter without mid-season monitoring. A Yonkers home that burns three to four nights a week from November through March may need a mid-season sweep. The calendar can’t tell you that; the creosote stage can, but only if you look.
When to Call a Professional
Some things are for the homeowner, and some things genuinely require a trained sweep with a camera scan and the right equipment. Call a professional when you see shiny, glass-like creosote in the flue, when the damper will not hold position, when smoke enters the room and opening a window doesn’t correct it, when you find efflorescence that returns after a month, when the crown is visibly cracked or spalled, when you smell creosote indoors in summer, or when you’ve never had the flue inspected by camera and simply want to know what you’re dealing with. Level Two Chimney Yonkers offers free estimates in Yonkers, always with a written price before any work begins. Call (551) 212-3526, and you’ll get a live person on the line, any hour, any day.
Frequently Asked Questions
A chimney sweep in Yonkers typically costs between $180 and $340 for a standard cleaning, with the higher end applying when creosote is Stage 2 or 3, when the firebox is heavily loaded, or when the homeowner hasn’t had a cleaning in several years. Every Level Two Chimney Yonkers quote is in writing before work starts, so the number you’re quoted is the number you pay. Call (551) 212-3526 for a free estimate, and ask about our Free Second Opinion if you’re comparing written quotes.
Most Yonkers homeowners should sweep once per year, before the burning season begins in October or November; our The Complete Guide to Chimney Cleaning in Yonkers covers the full process. Homes that burn three or more nights per week, or that have undergone energy retrofits, often need a mid-season sweep in January or February, and homes that burn only occasionally with seasoned wood can sometimes go two seasons. The honest answer is that creosote buildup rates vary enough from house to house that a visual check, not a fixed calendar, is the real guide.
A year of deferred cleaning can mean anything from harmless Stage 1 buildup to dangerous Stage 3 glazing, depending on how much you burn, what you burn, and how the house breathes. The first risk is reduced draft and increased smoke in the living space, and the second is a chimney fire, which can burn hot enough to crack the liner and expose framing to direct flame. The less severe but more common cost is a much harder cleaning and possibly chemical treatment when you do get around to it.
A camera-scan inspection every year is not necessary if the chimney is clean, the liner is documented as intact, and nothing has changed since the last scan, but a camera scan after any unusual event, chimney fire, animal intrusion, or major exterior renovation is highly recommended. That said, if you are buying a home in Yonkers or have never had the flue evaluated beyond a visual look, one camera-scan inspection is the minimum before you burn.
You can brush a lightly-soiled chimney from the top down with the right equipment and genuine care, and many Yonkers homeowners do exactly that, but a do-it-yourself brush will not remove Stage 2 or Stage 3 creosote, will not tell you the condition of your liner, and comes with fall-risk exposure from a ladder. The money you save on one self-clean disappears quickly if the damper assembly is damaged by an improvised tool. We’d rather see a homeowner do monthly observations and let a professional do the cleaning; but the choice is yours, and we’ll quote a written price either way.
Yes, directly. Most homeowner’s insurance policies require the homeowner to take reasonable care of the property, and a chimney that was cleaned and inspected with a documented record is reasonable care, while a chimney that has never been professionally evaluated leaves your position ambiguous. When a claim is filed, the adjuster’s first question is typically whether the flue was maintained, and a written record of an annual sweep, with a photo set and liner notation, is the best answer you can give. Keep it, photograph it, and store it with the policy.
The Bottom Line
A Yonkers chimney is a simple system subjected to an unforgiving climate and a lot of variables, from urban particulate climbing the Hudson Valley to energy retrofits that starve the flue of air. The maintenance that keeps it safe is not complicated: watch the firebox monthly, walk the exterior in March and August, document what you find with your phone, and know what creosote looks like when it changes. The homeowners who get into trouble are not the ones who didn’t clean; they’re the ones who never looked. Look once a month, call when something changes, and keep the written record. That’s the whole checklist.
Written by Corrine Halstead, Owner at Level Two Chimney Yonkers, serving Yonkers since 2009.